Creating a Text-to-Speech Converter with React and AWS Polly
Welcome to this blog where we will build a Text-to-Speech converter using React and AWS Polly. This project is inspired by existing text-to-speech applications and aims to replicate their functionality while providing a unique user experience. Let's dive into the details!
Understanding the Concept
The primary goal of our project is to create an application that converts any text input into speech. AWS Polly is a powerful service that allows us to achieve this by transforming written text into lifelike speech. This capability is not only useful for accessibility but also enhances user engagement in various applications.
Application Design
In our application, we will have a simple user interface that consists of:
A text area for users to input their text.
A button to convert the text to speech.
An audio player to listen to the generated speech.
Options to download the audio file.
We will take inspiration from existing applications like Natural Reader and Voice Maker to design our UI. The layout will be intuitive and user-friendly.
Setting Up the Project
First, we need to create a new React application. Open your terminal and navigate to your preferred directory. Run the following command to create a new React app:
npx create-react-app text-to-speech
Once the setup is complete, navigate into your project directory:
cd text-to-speech
Now, let's open the project in your code editor. You can use VS Code or any other editor of your choice.
Installing AWS SDK
To interact with AWS Polly, we need to install the AWS SDK. In your terminal, run the following command:
npm install aws-sdk
With the SDK installed, we can now configure our application to use AWS services
Configuring AWS Credentials
To use AWS Polly, you need to set up AWS credentials. If you don't have an AWS account, create one. After logging in, navigate to the IAM service to create a new user with programmatic access and attach the necessary policies for Polly. Make sure to save your Access Key ID and Secret Access Key.
Create a new file named .env in the root of your project and add the following lines:
REACT_APP_AWS_ACCESS_KEY=your_access_key_id
REACT_APP_AWS_SECRET_KEY=your_secret_access_key
REACT_APP_AWS_REGION=your_aws_region
Building the User Interface
Now that we have our environment set up, let’s build the UI. For you to have access to the code, I have uploaded all the required files at https://github.com/techonlinewriter/Project-For-AWS-Polly
Once you provide your AWS access details in .env file then you will be able to Run the project and during local testing you will see the screen as this.
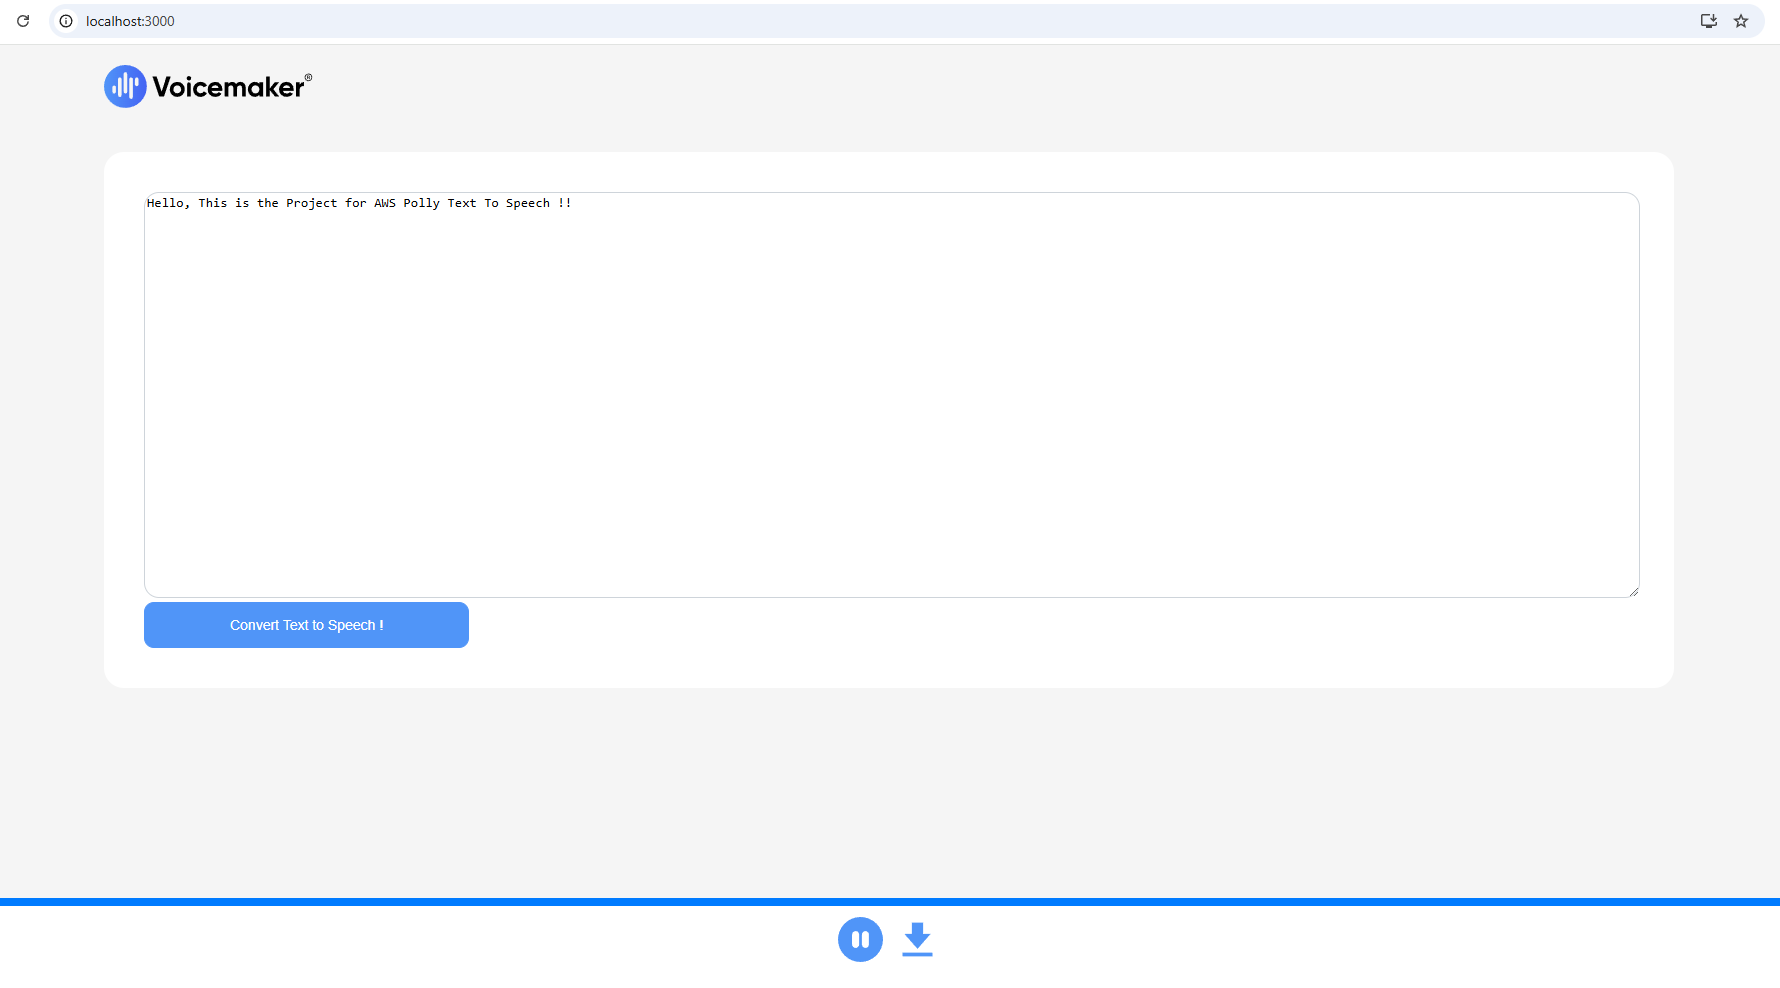
If you have done configurations as described above and run the project after cloning from Github then we have completed this exciting project for AWS Polly.
About me: I am an independent Cloud Architect and technical writer. If you are an organization that want to hire me then I can be contacted at techonlinewriter@gmail.com